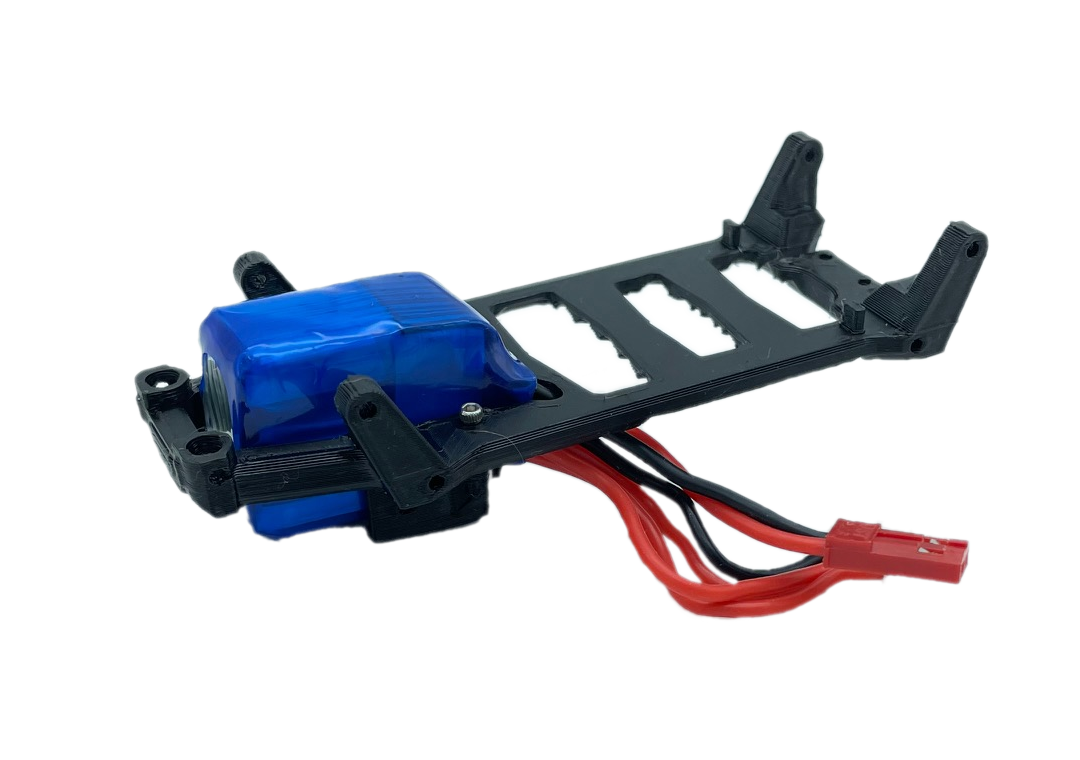
Battery Tray Mounting Plate
Package includes:
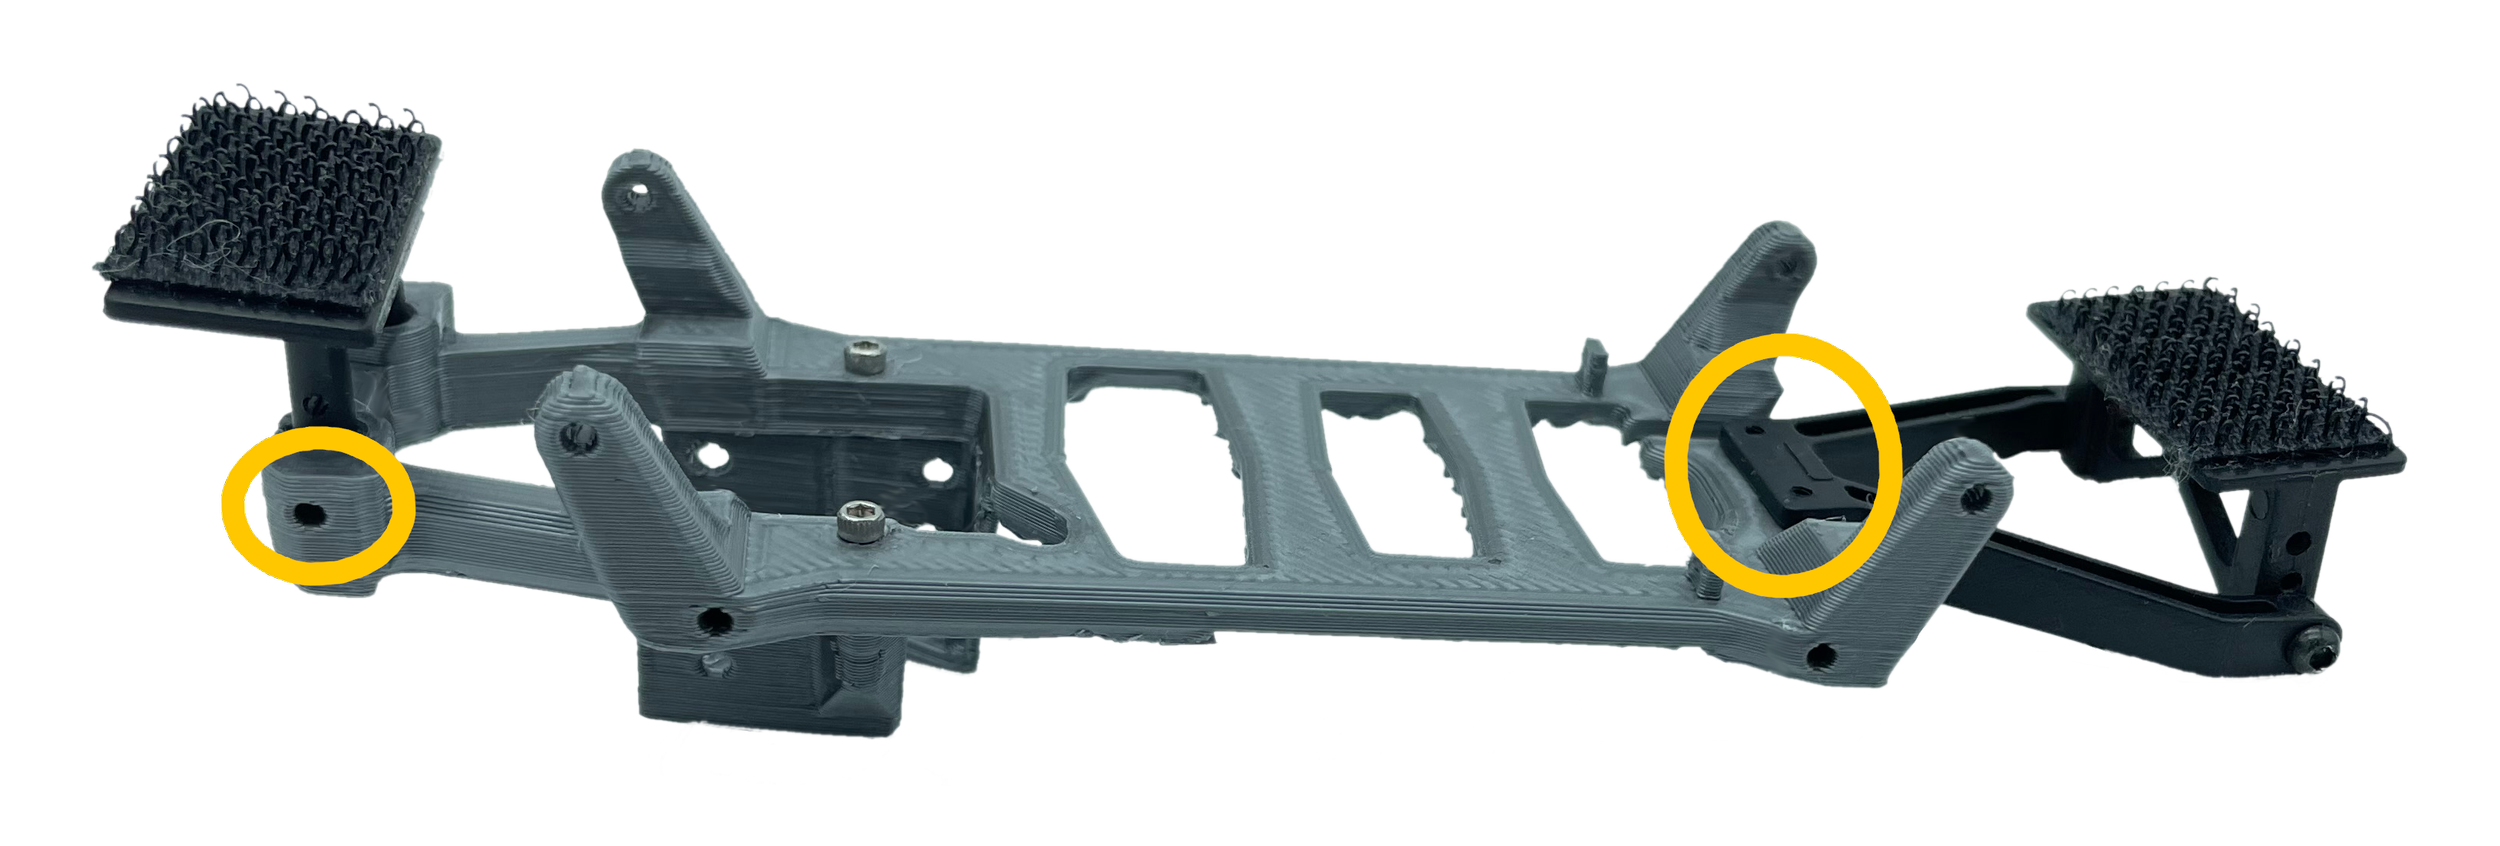
1X Battery Tray Main Body
1X Batter Tray Lower Body
2X screws for Battery Tray Lower
2X screws for Front Body Mount
Requirements:
MakeWay RC 3S 180mAh 45C Lipo Battery or Palm Power’s 3S 180mAh
Note: Palm Power’s 3S 180mAh comes in multiple variants, it must be the version that’s 28x15x23mm.
Allen Key (.05” or 1.3mm)
Zip Tie (optional if installing with Orion Body)
Step 1: Preparation of Car:
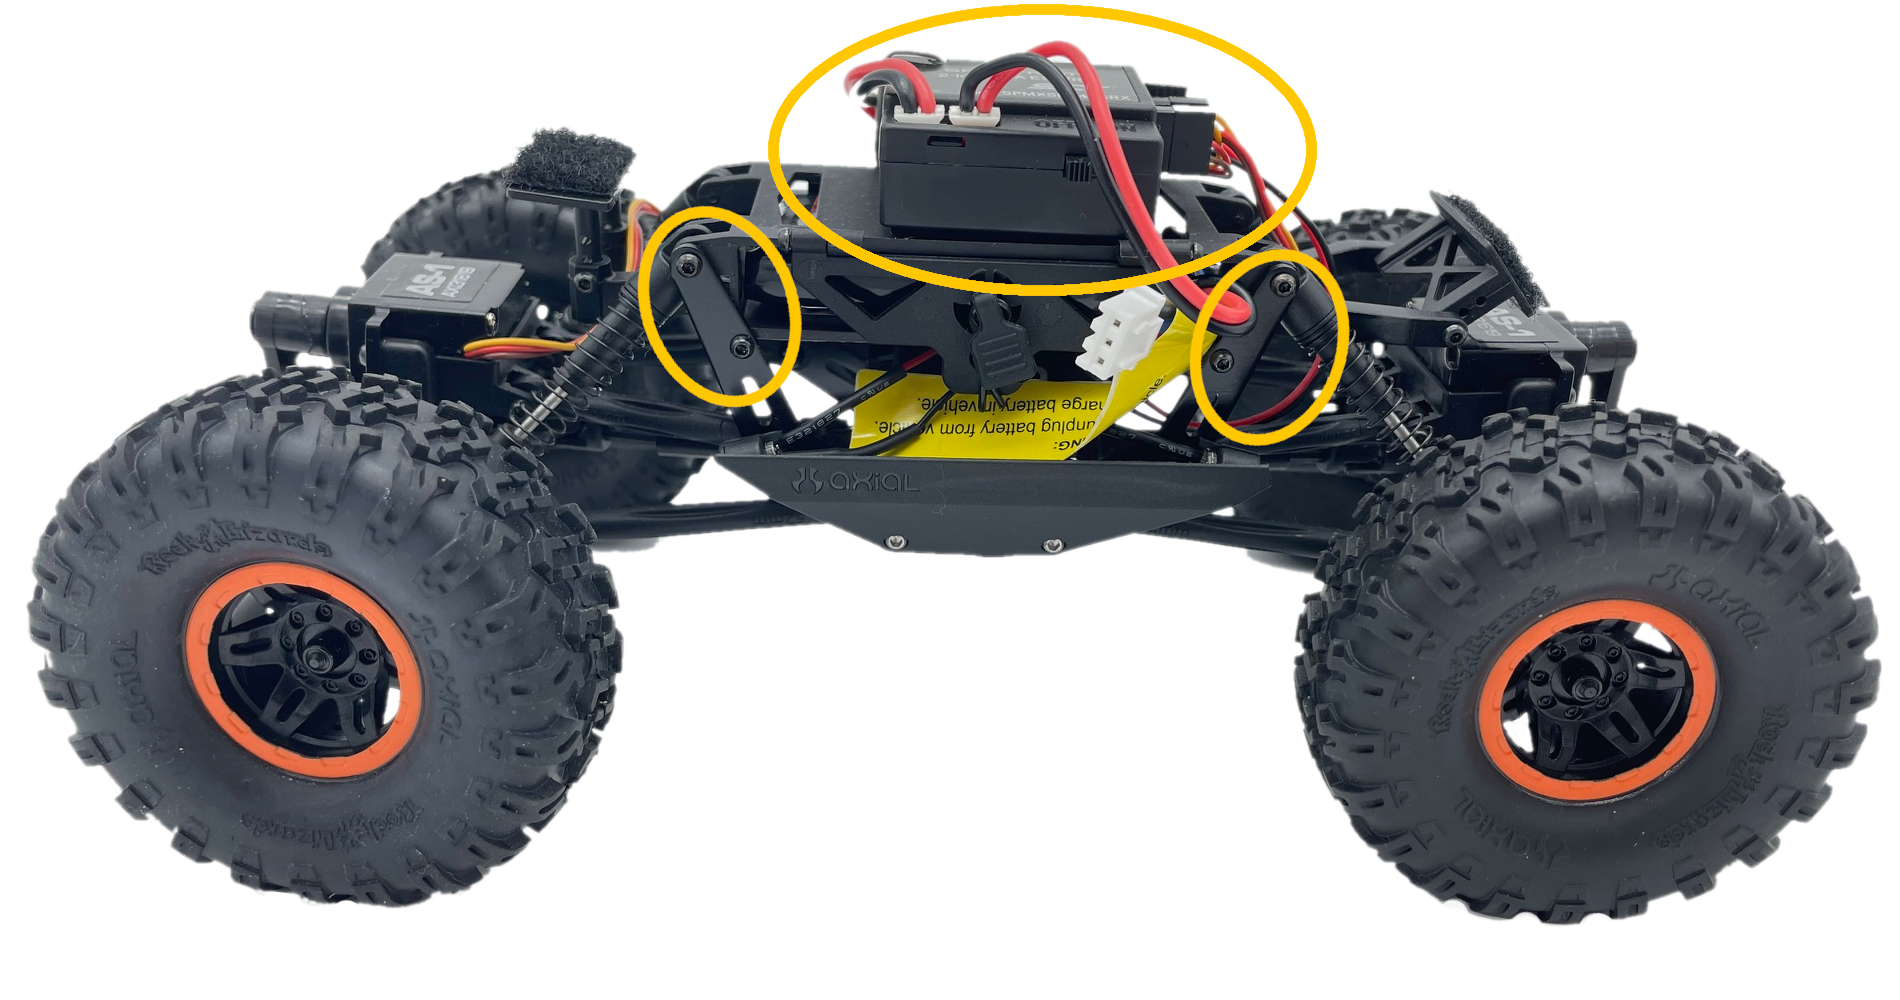
Carefully remove your ESC (it’s glued on).
Take out the 8 screws (4 per side) that secure the stock battery tray. Set them aside for later use in step 4.
Step 2: Battery
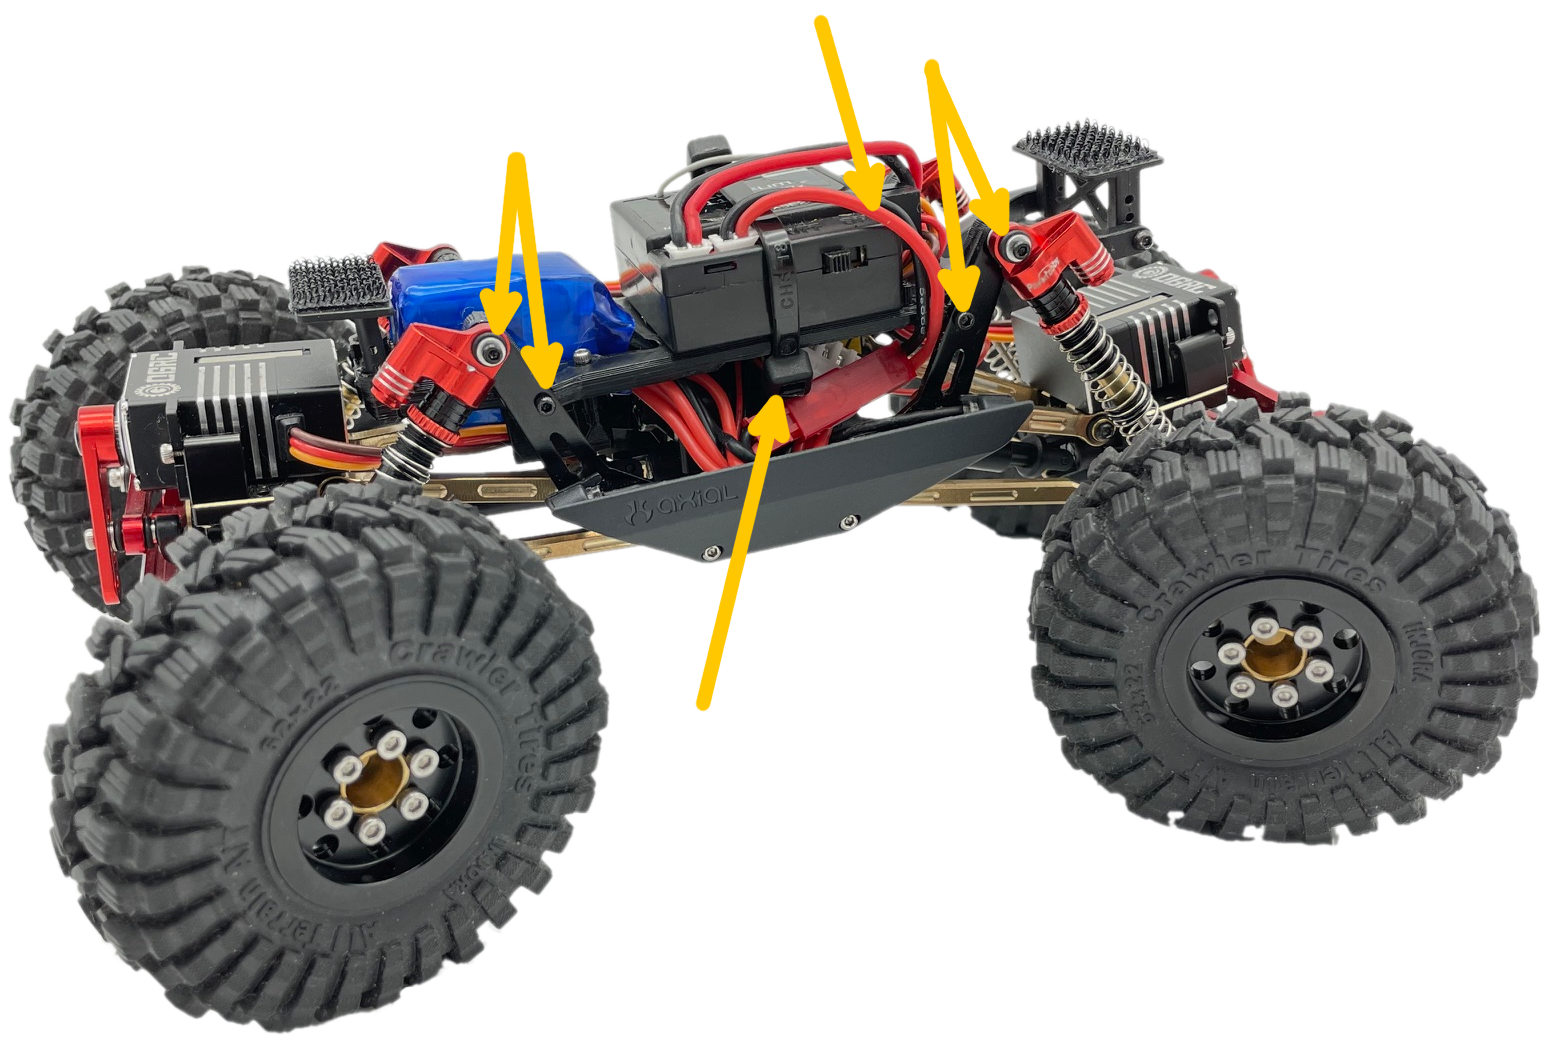
Insert your battery from the top into its holder. Make sure to guide the wires through the bottom opening.
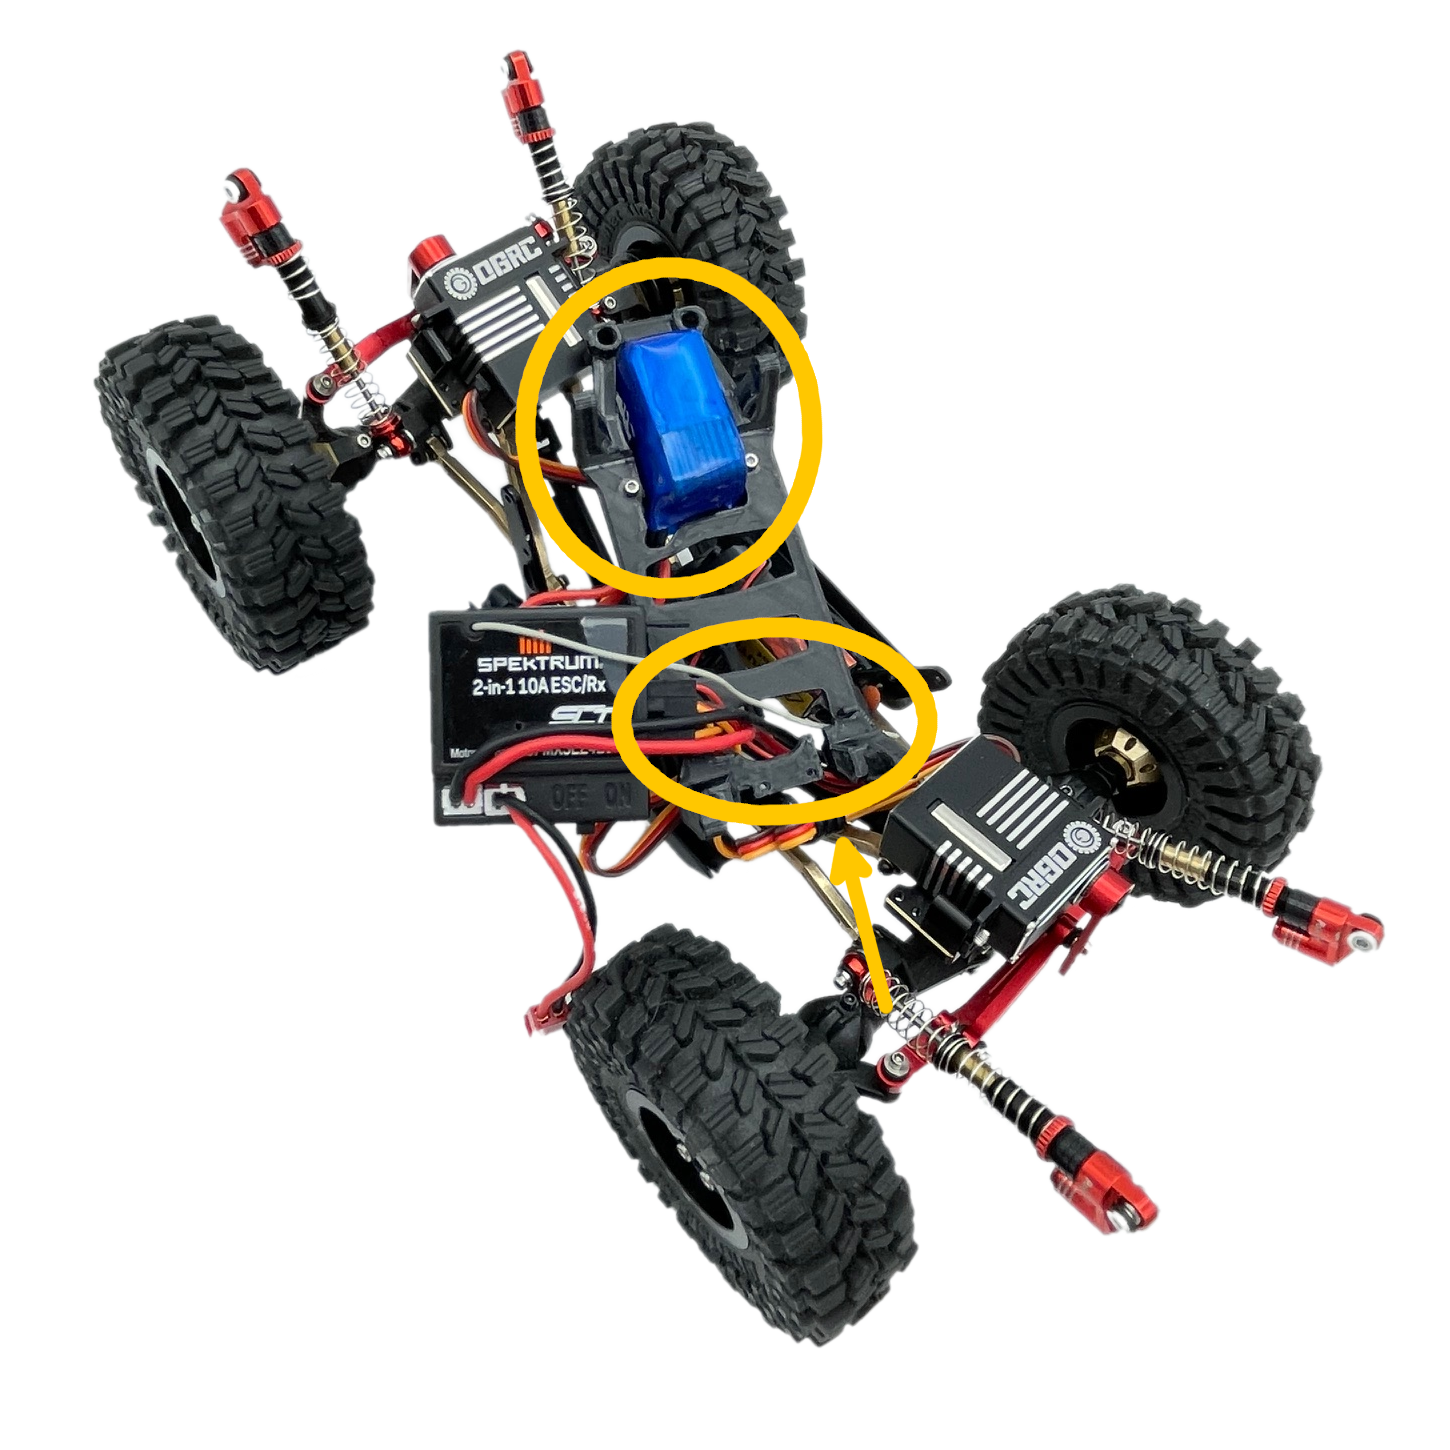
Slide the motor wires into the wire compartment
Step 3: Wires
Guide the servo wires into the wire compartment.
If you're using stock servos, managing the wires is straightforward. Follow the original setup.
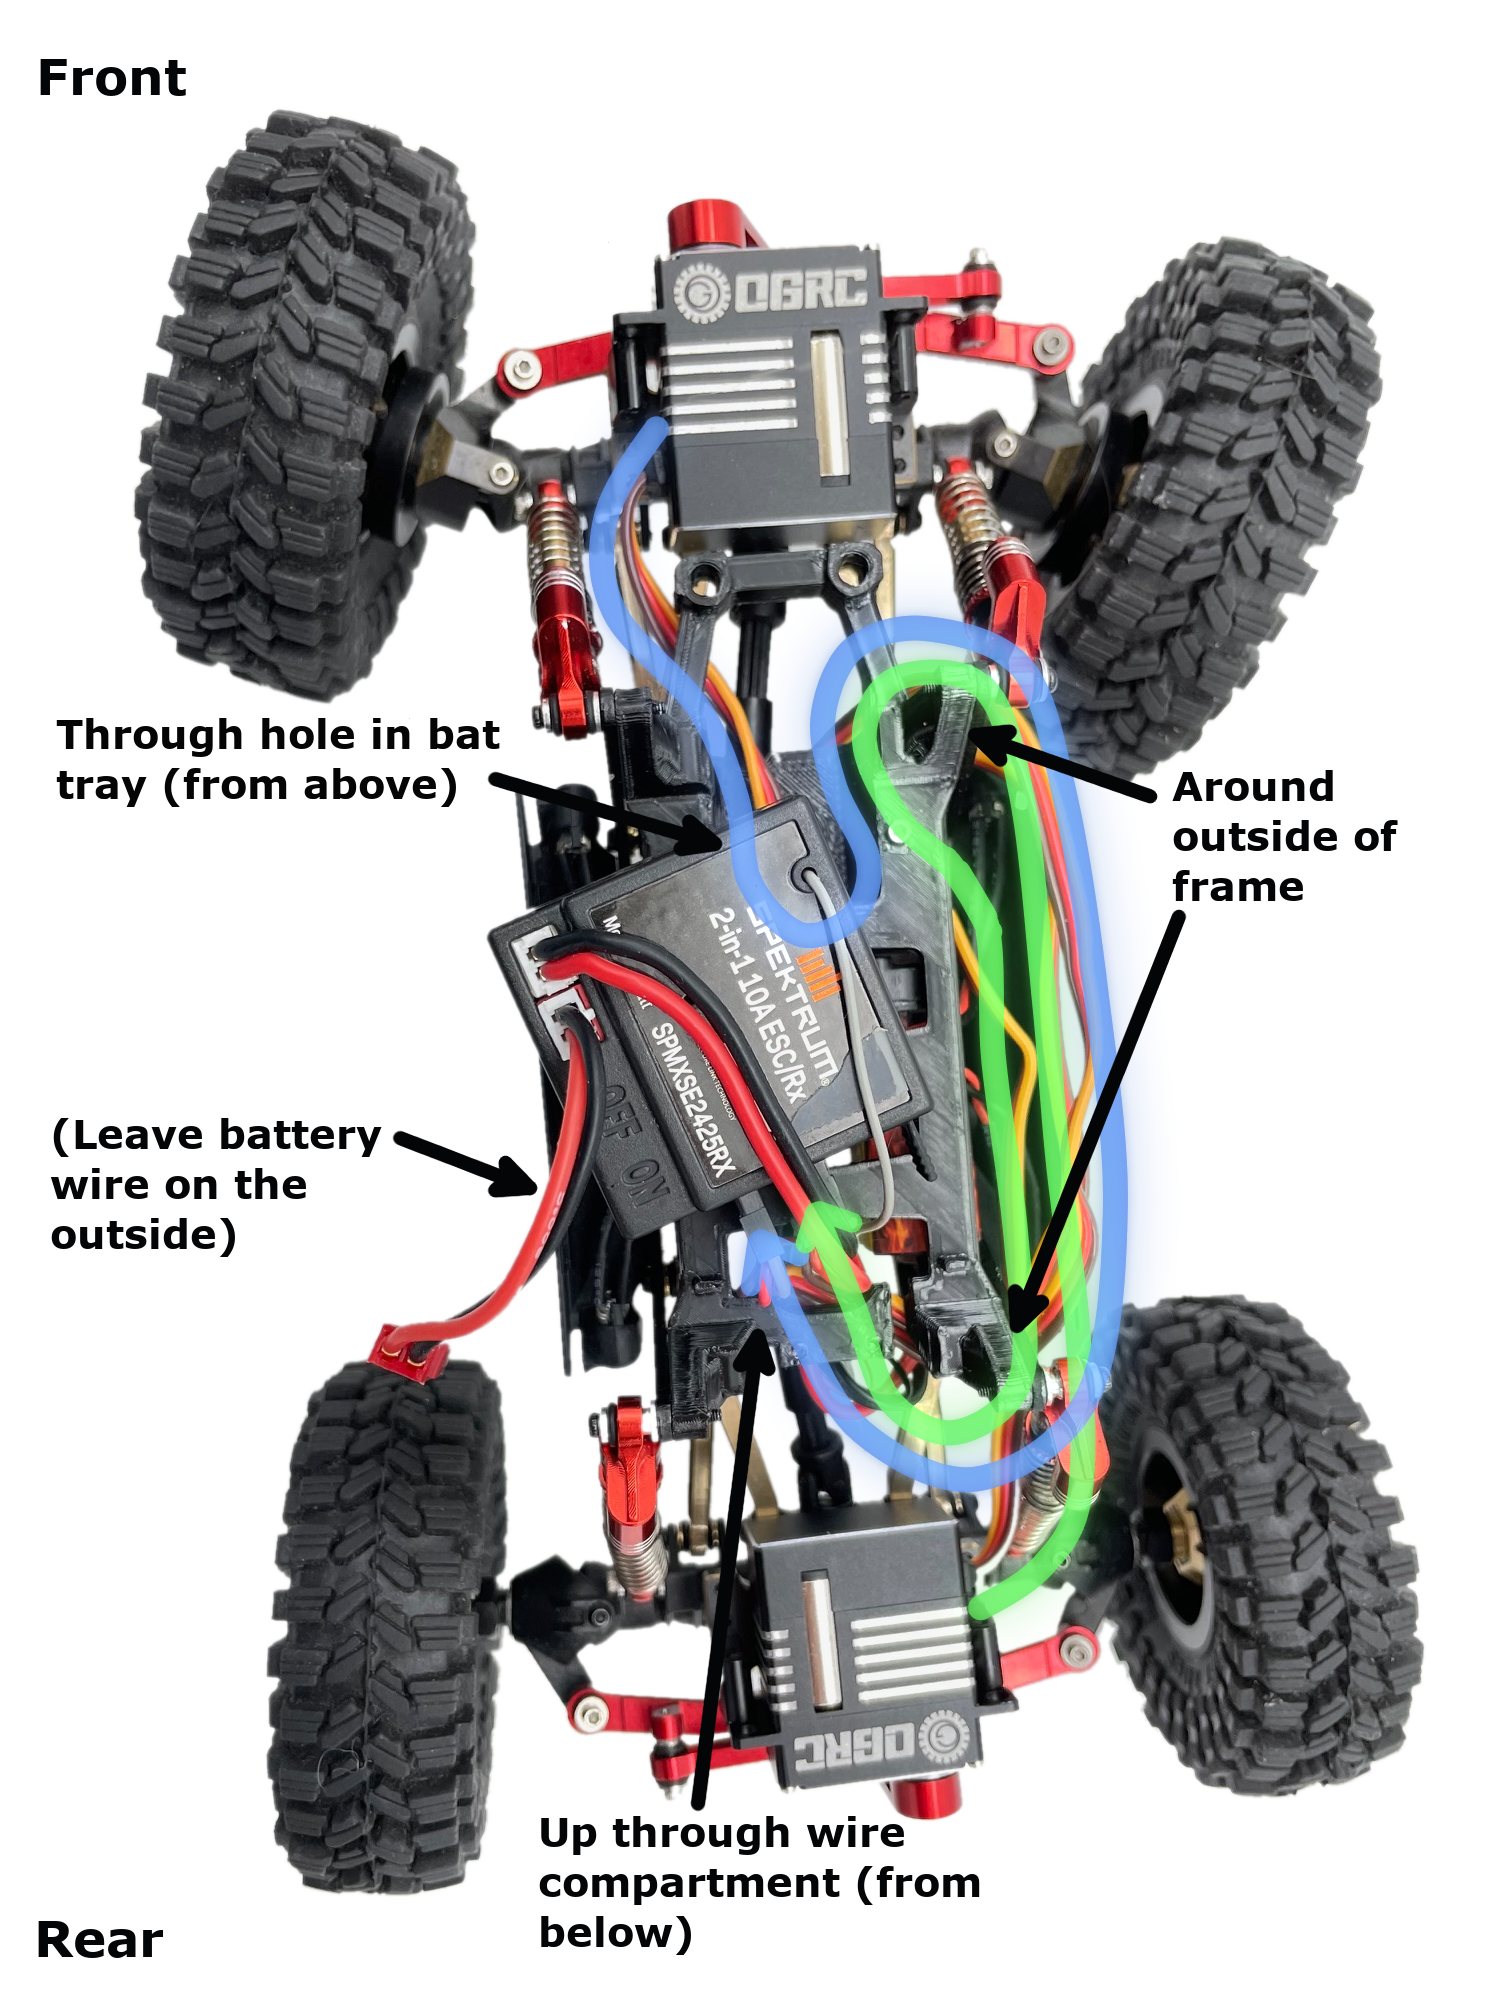
For aftermarket servos with longer wires, refer to the diagram below. Remove the battery to guide the wire through the tray then wrap the wires along and around the metal frame on the motor side to prevent flex issues.
Note: This should work for most aftermarket servos, but we haven’t tested all of them. Servo shown is OGRC.
Step 4: Assembly
If you're also installing the Orion body, switch to its installation guide.
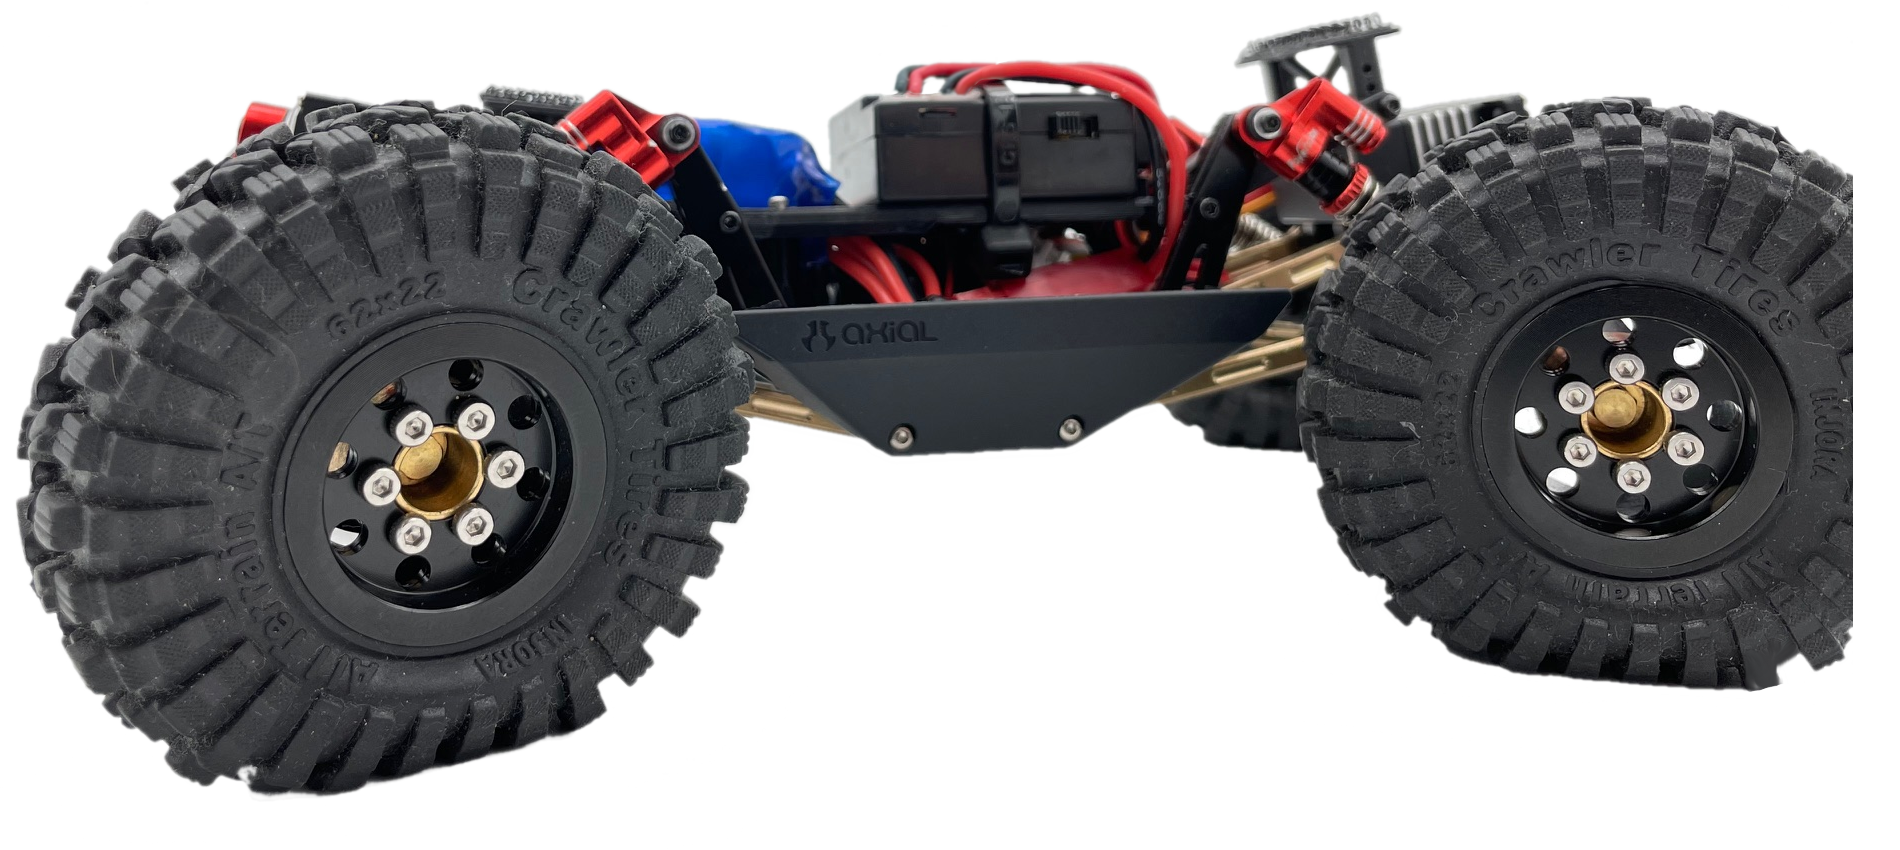
Put back the 8 screws (4 per side) removed in step 1. Note: Position your shocks on the outside of the metal frame rail for added stability.
Secure the ESC in place with zip ties (not included) or your preferred attachment method.
Step 5: Body Mounts
Remove the 4 screws from the body mounts on your old battery tray.
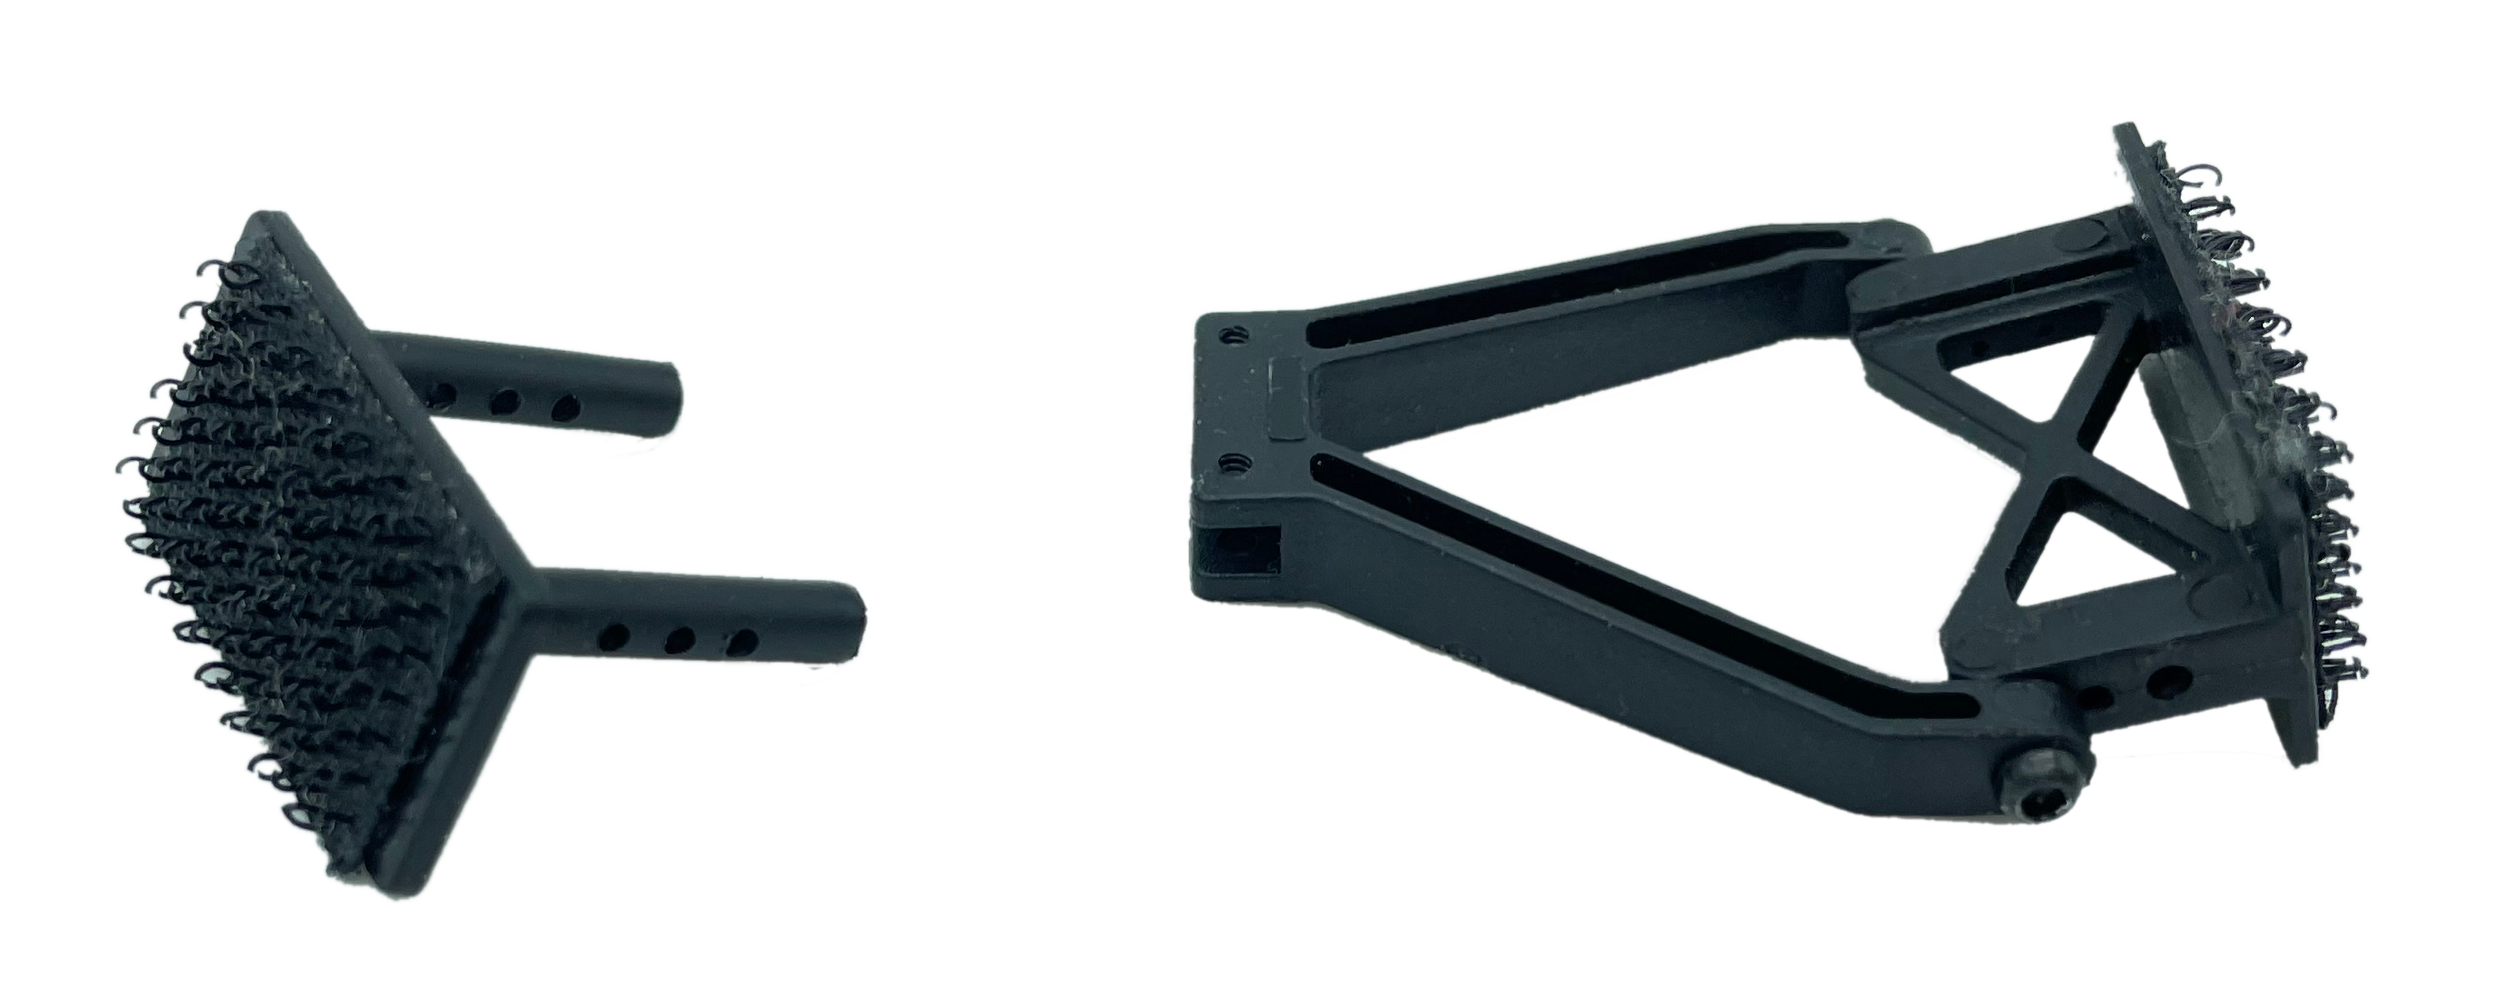
Reuse the 2 rear screws to install the rear (2 piece) battery mount assembly on your new tray.
Use the included screws to install the front (1 piece) battery mount.
Add Your Body and Enjoy!
BATTERY FITMENT NOTE
Addressing Potential Challenges:
The main cause of issue would likely arise during removing the ESC from the stock battery tray. If you are having difficulties you can try using a flat edge screw driver or anything else that thin to pry it off. But be careful not to damage the plastic (unless you don’t care…).
Note: Poor cable management can easily cause reduced flex.
If you ever need further assistance, don't hesitate to reach out. Your satisfaction is our priority!

